
Tickets can be used as a way of verification and, in some cases, tickets may be scanned to confirm they are valid. The following outlines how to create ticket items with or without barcodes.
Creating a Ticket Item
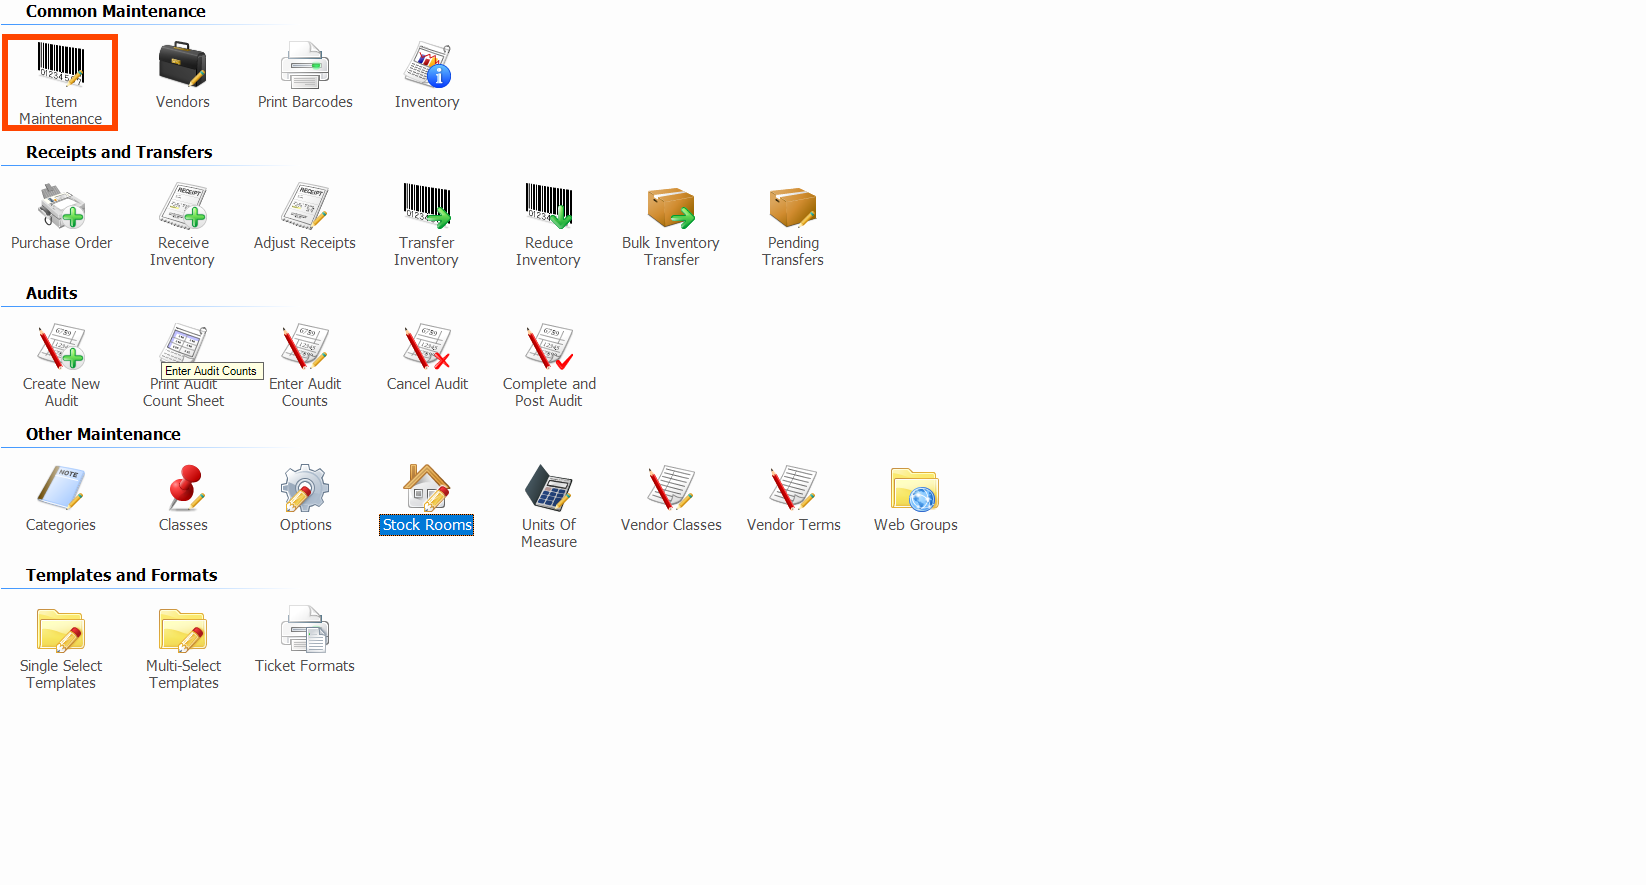
- From Manger Console, click Inventory.
- Double-click Item�Maintenance.
- Click Add.
- Enter a Description.
- For this example we will create an Admission Ticket.
- Select Ticket�or�Barcode Ticket as the�Type of Item.
- Select Ticket if the ticket will be shown or handed to a person. Select Barcode Ticket if the ticket will be scanned.
- For this example we will create a Barcode Ticket.
- Choose a Category and Sub-Category.
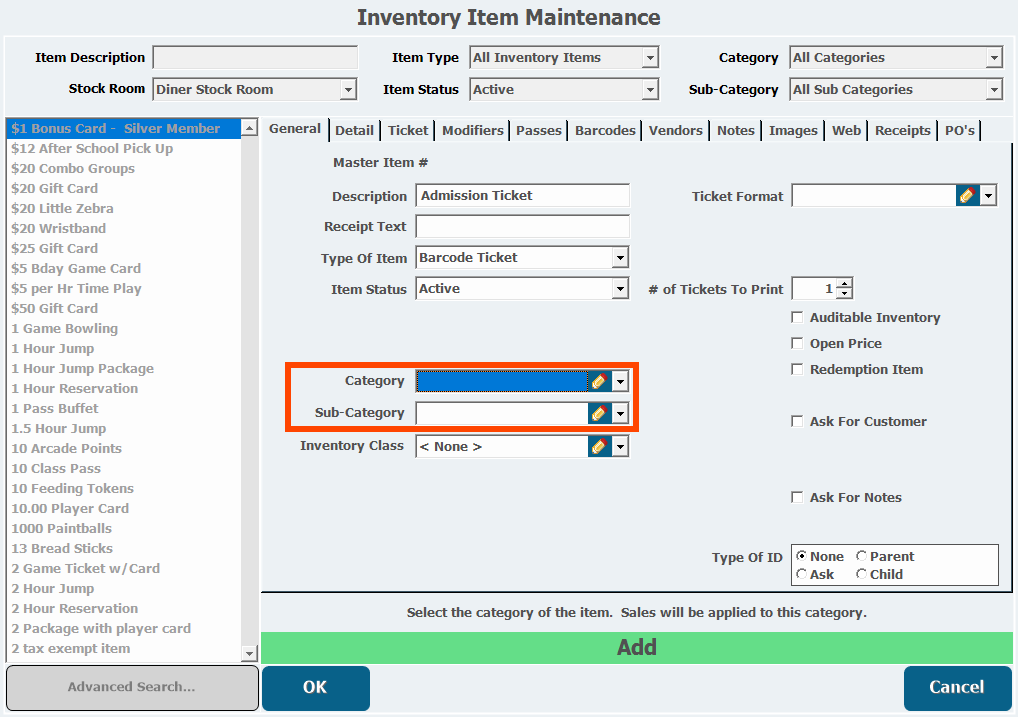
- If the ticket requires a waiver, select Ask for Customer and Waiver Required.
-
This would be for something like a jump ticket.
You can also attach a customer to a ticket without requiring a waiver by leaving Waiver Required deselected.
-
-
From the General tab, select an existing Ticket Format, or click the Pencil icon to edit or to add a new one in Ticket Format Maintenance.
- A Ticket Format is a predefined configuration for how the ticket looks and what information is on it. Each one is set up for any printer types it will print from, and/or how it will appear when purchased online.

- A Ticket Format is a predefined configuration for how the ticket looks and what information is on it. Each one is set up for any printer types it will print from, and/or how it will appear when purchased online.
- If applicable, configure the Ticket Format to include a barcode as described below.
- Open the Ticket tab.
- Select whether to Use Default Printer to print this item, or deselect it and choose a different printer.
- If the ticket can be used more than once, adjust the Max Use field.
- Select the Include in Ticket Count box to track its count.
- Select a Local Will Call Ticket Format to use when this item is redeemed as a will call item.
Adding a Barcode to a Ticket Format
- From Ticket Format Maintenance, click Edit Boca, or Zebra Format depending on what printer you want to configure the format for.
Add barcodes to receipt and web formats using the Barcode merge field.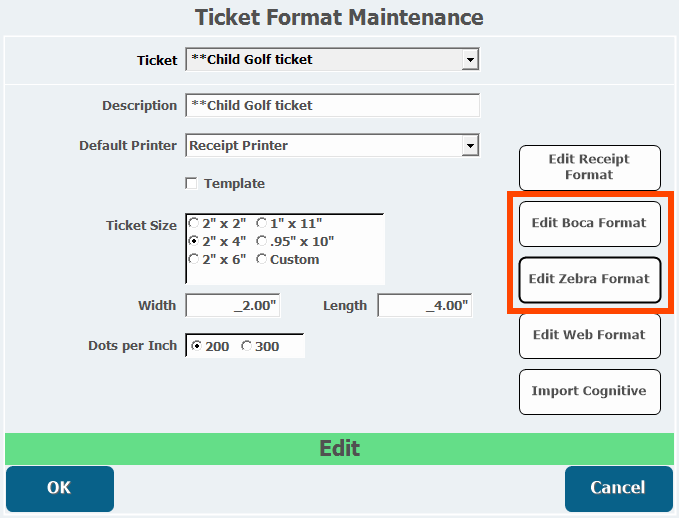
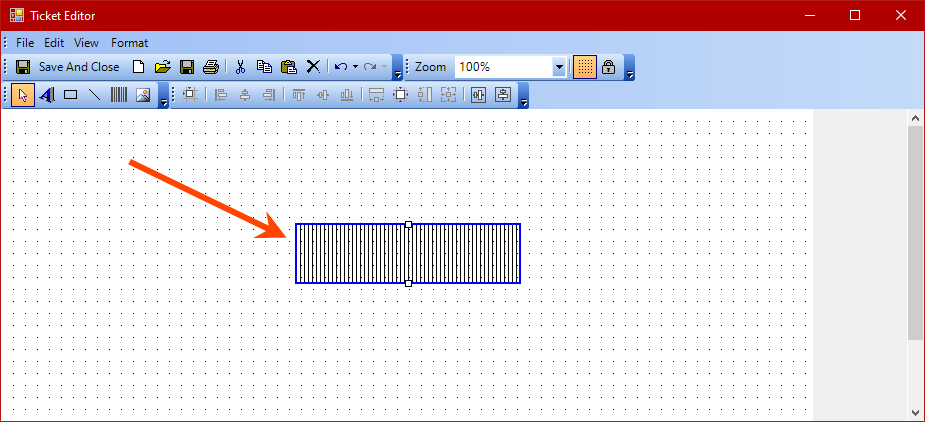
- Click the barcode icon.
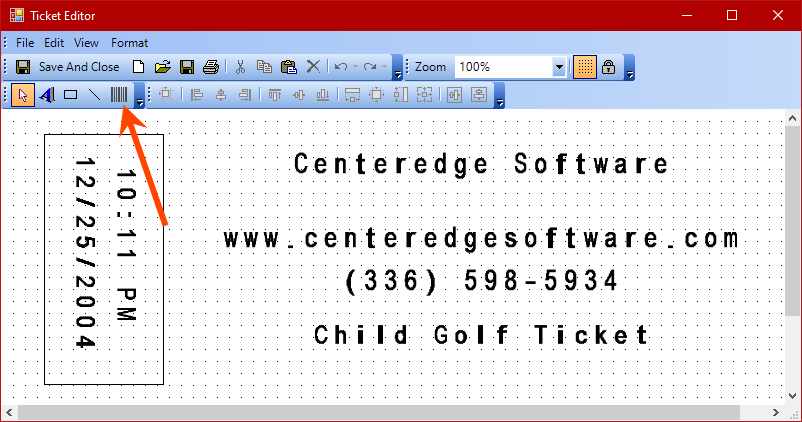
- Click the canvas below if you are using Boca, or click and drag if you are using Zebra.
- For Zebra, double-click the barcode to bring up its settings, which will open automatically if you are using the Boca format.
- Enter Text and/or add merge fields by clicking the information you want to include.
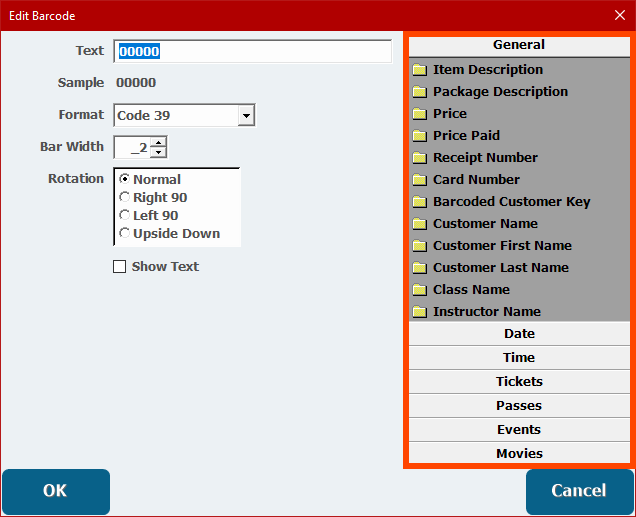
- Adjust the barcode Format, its Bar Width and Height, and its Rotation as necessary.
- Select Show Text to include a human readable version of the Text field with the barcode.
- Click OK.
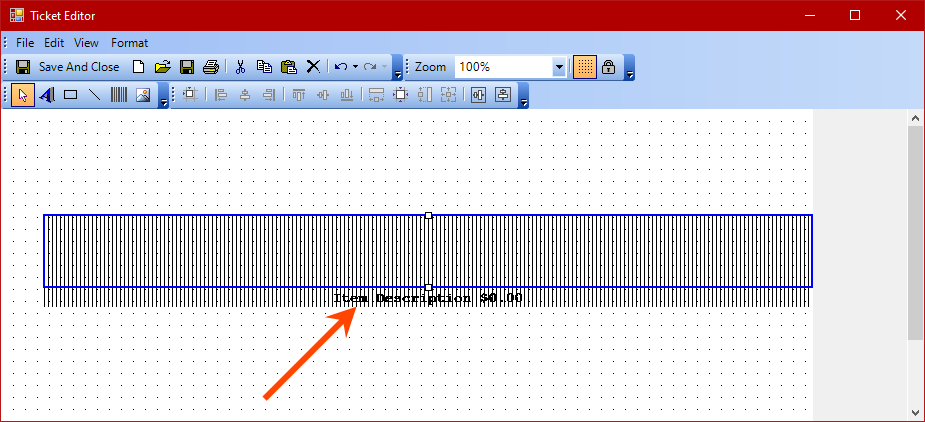
- Reposition the barcode as necessary by clicking and dragging.
- Format the rest of the ticket if necessary.
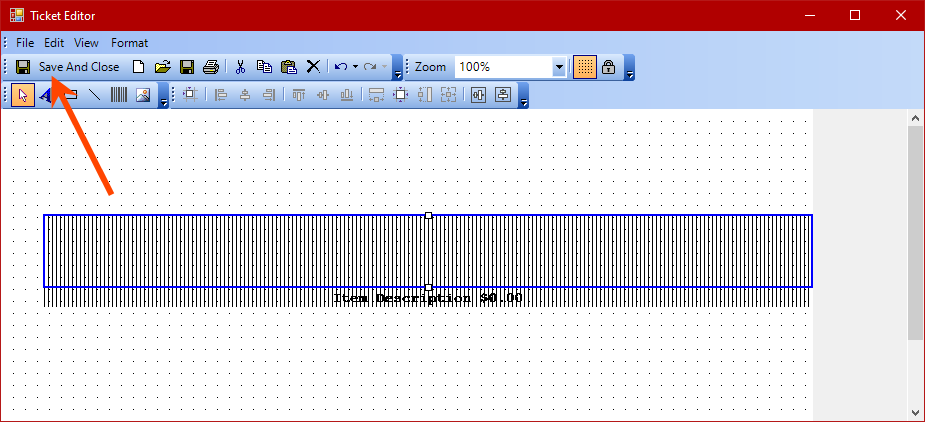
- Click Save And Close when you are done.
- Click OK.
At the time of export, this article was last updated . Navigate here to see the latest version: https://support.centeredgesoftware.com/hc/en-us/articles/360042097993-Create-a-Ticket-or-Barcode-Ticket-Item
Comments
0 comments
Please sign in to leave a comment.
Related articles