
The tax rate you charge depends on your state and/or country's laws. You can add multiple Tax Codes, such as "Entertainment," within which you will set a Tax Rate percentage. These rates are then assigned to a Sub-Category. Any inventory item in that sub-category, if configured to be taxed, will be taxed at that tax rate.
Create Tax Codes/Rates
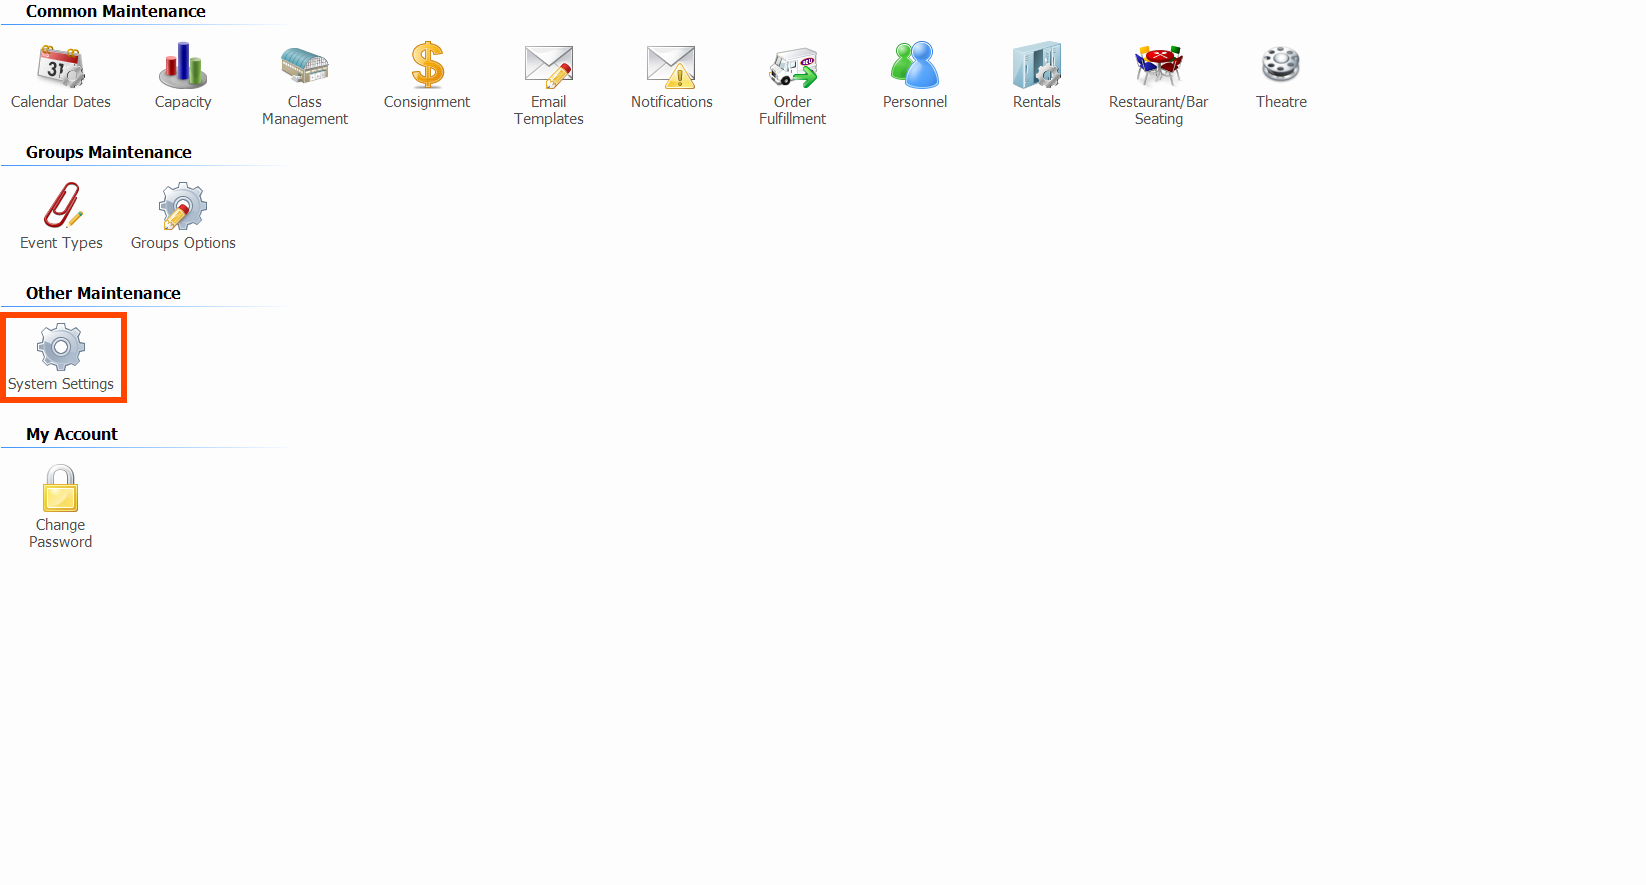
- From Manager Console, click Maintenance.
- Double-click System Settings.
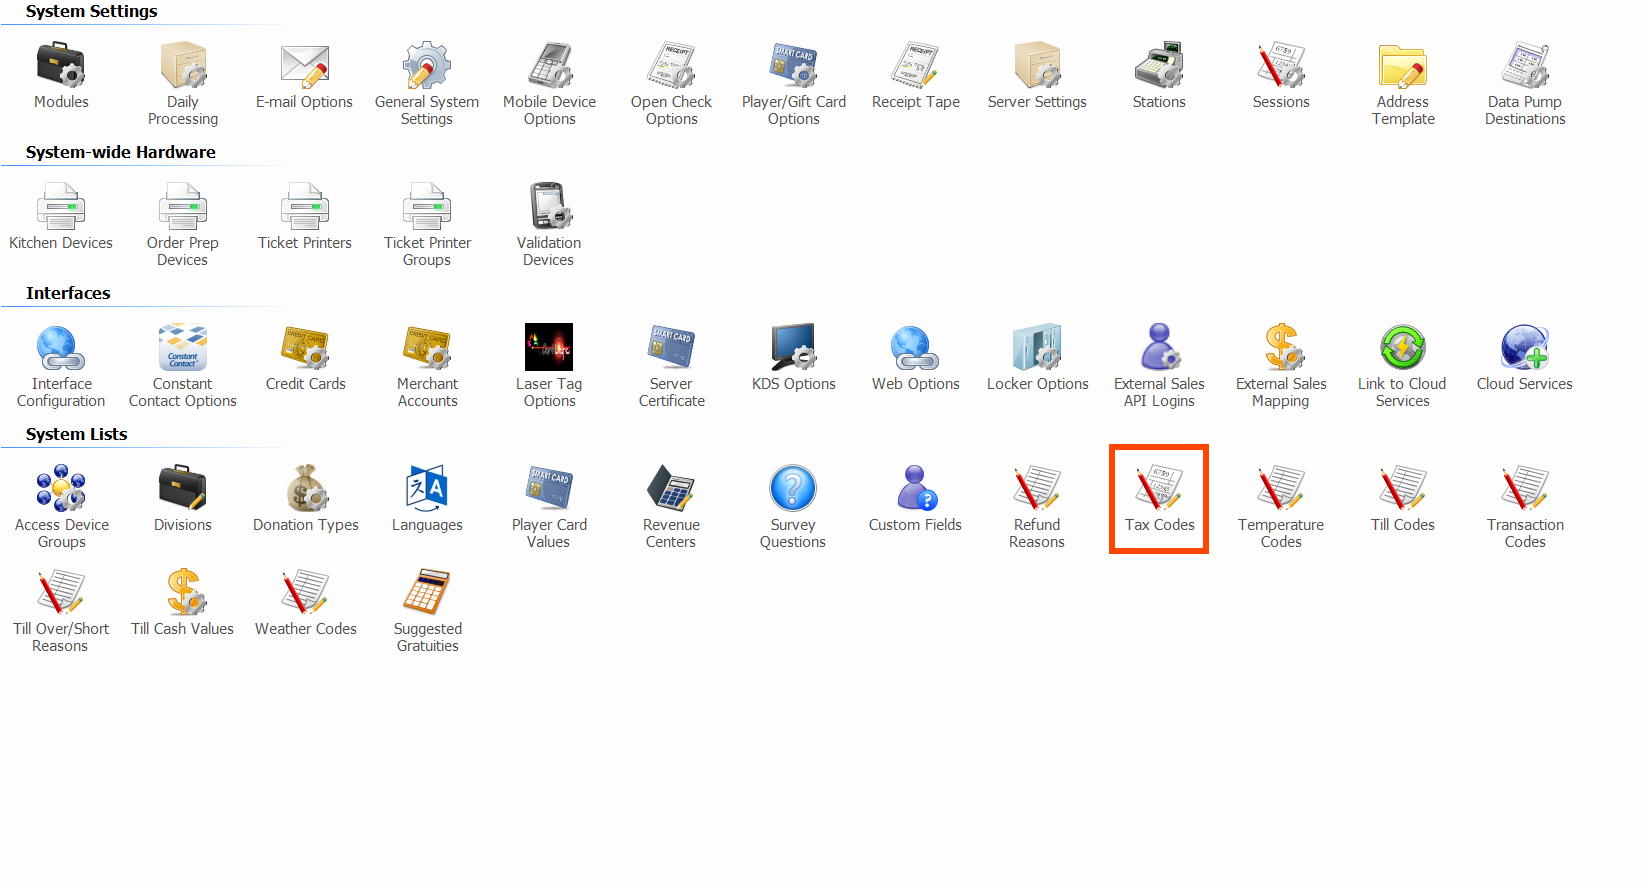
- Double-click Tax Codes.
- Click Add Tax Code.
- Enter a Description, such as "Sales Tax."
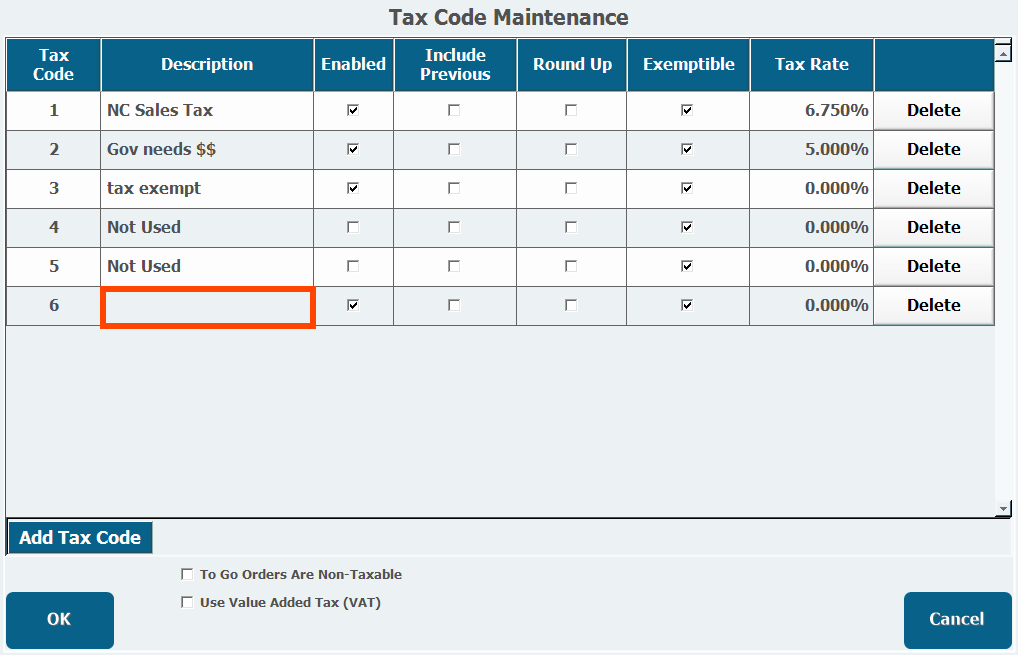
- Select Enable to make the tax code available for use.
- Select Include Previous to include the tax as part of all the enabled taxes listed above it.
Once a tax code has been used, it can't be deleted and you can't reorder them, so if you will be using this feature, be sure to add tax codes in order.
- Select Round Up to round up the tax to the next penny, if applicable.
- Enter the Tax Rate, which is the percentage of the retail price, as included or added depending on the item settings, that will be charged as tax.
- Repeat the above for any other tax codes you need.
The two check boxes at the bottom do the following:
If you select To Go Orders Are Non-Taxable, if you have a To Go Action Button in the Point of Sale, any item you sell after clicking that button won't be taxed.
If you select Use Value Added Tax (VAT), all items will have taxed items include that tax in the Retail Price automatically and receipts will be configured for VAT. This setting does not work yet on Advantage Web.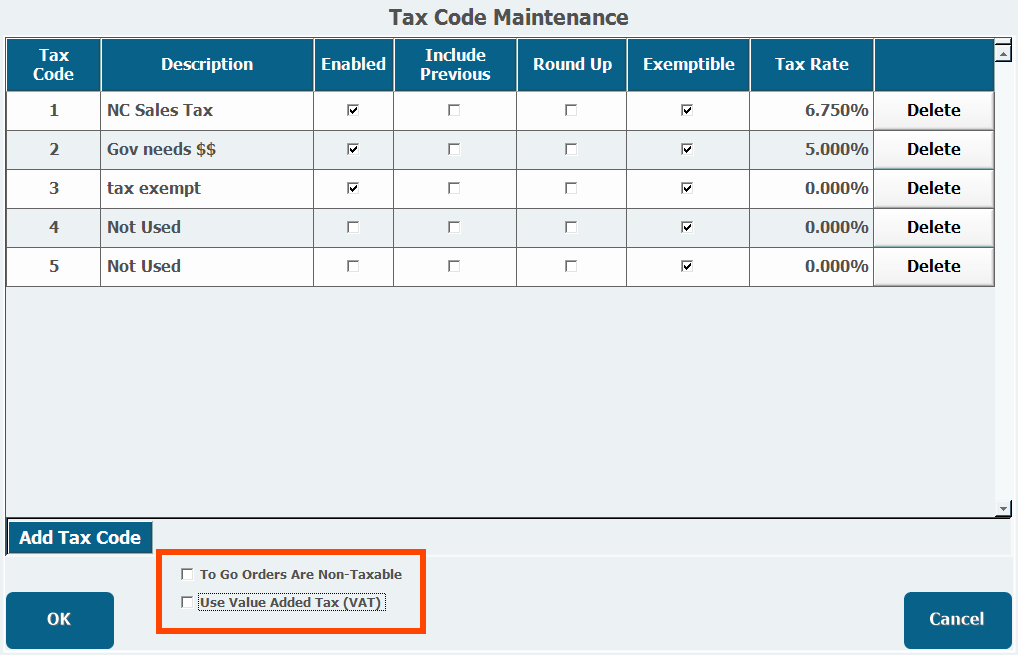
- Click OK.
Charge Taxes on an Inventory Item
There are two elements to taxing inventory items, which are described below.
Associate a Tax Code/Rate to a Sub-Category
The Sub-Category an item is in determines at what rate it is taxed, if it is configured to be taxable. For example, a Candy sub-category in a Food category might have a 2% tax.
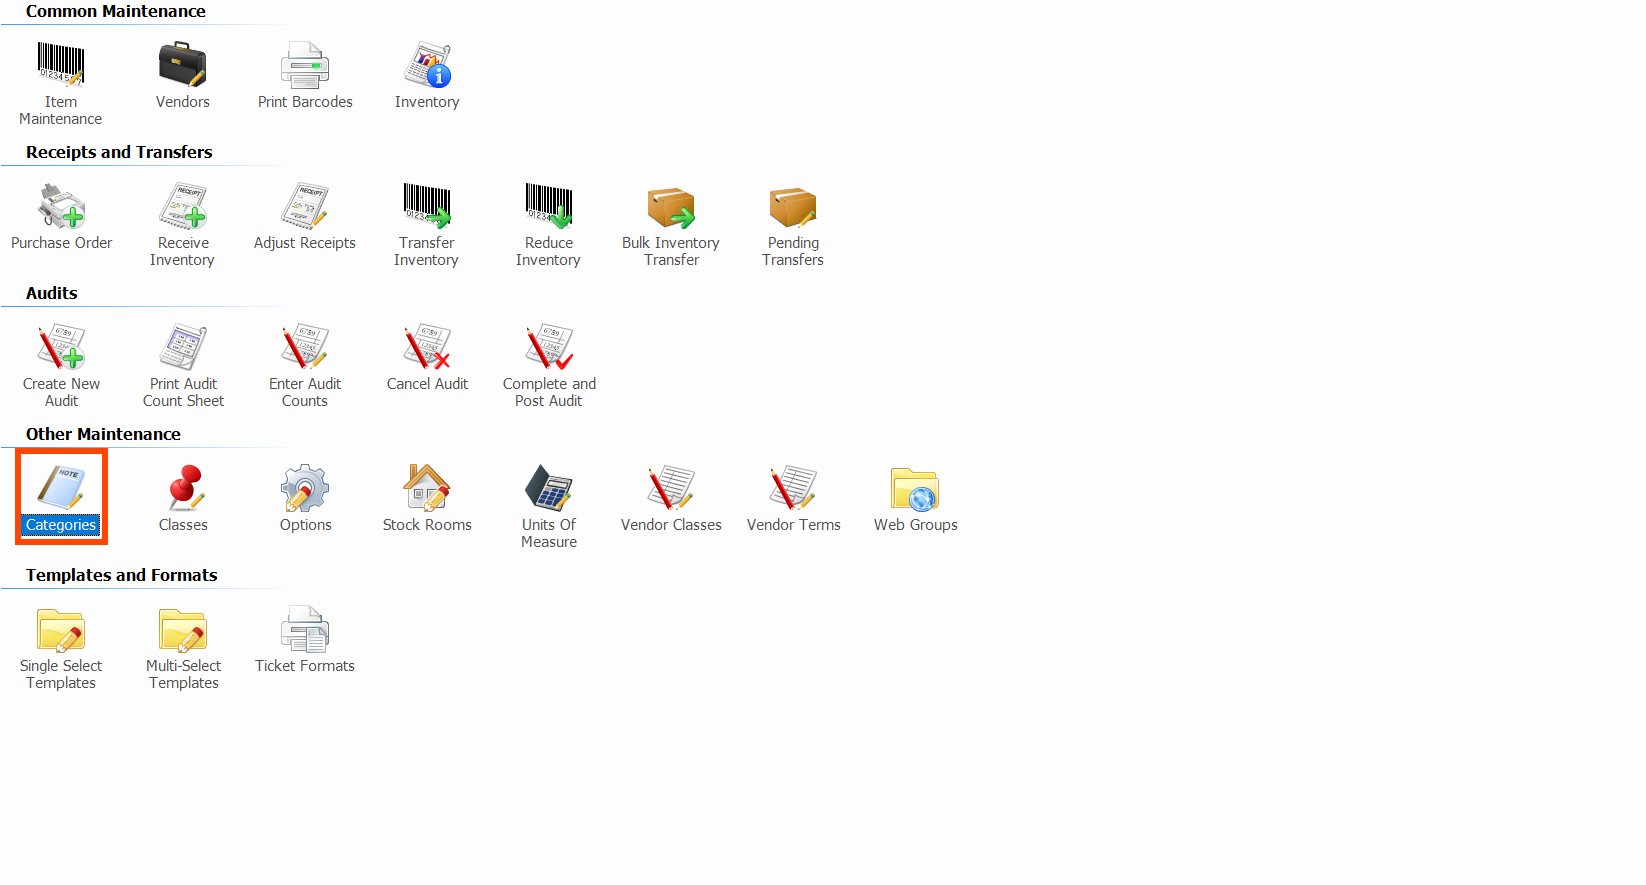
- From Manager Console, click Inventory.
- Double-click Categories.

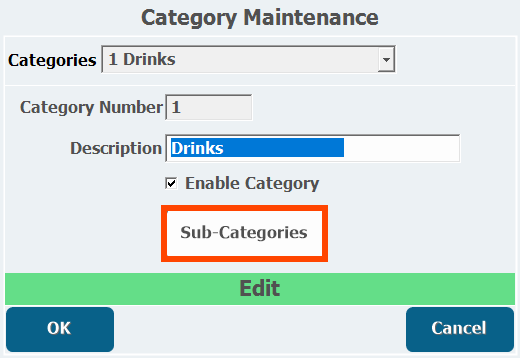
- Select the Category in which you want to add or edit a Sub-Category or click Add to create a new one.
Have questions about Categories and Sub-Categories? Check for the answer here: Category and Sub-Category FAQs - Click Edit.
- Click Sub-Categories.
- Select the Sub-Category you want to edit, or click Add to create a new one.
- Click Edit.
- All your enabled tax codes will display in the box below, under the title Tax Type.
- Select Yes from the Taxable column for any Tax Codes you want to apply to items in this sub-category that are configured to add tax.
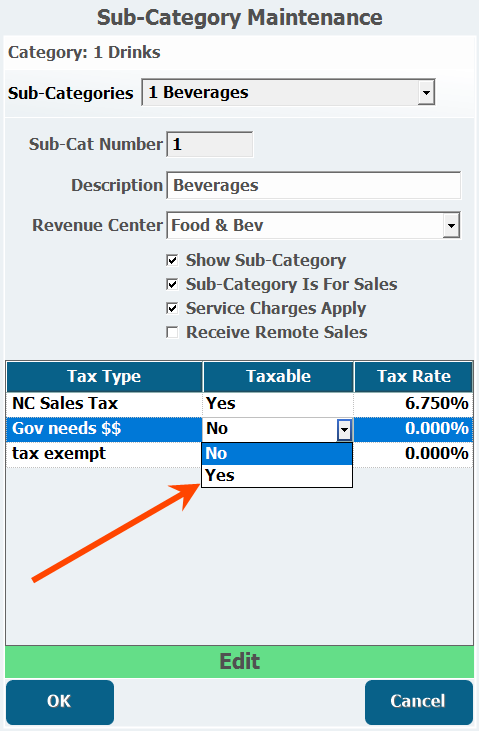
The Tax Rate column will read 0.000% unless you select Yes, after which point it will display the percentage you configured in the Tax Codes section above. - Click OK.
- Click Exit.
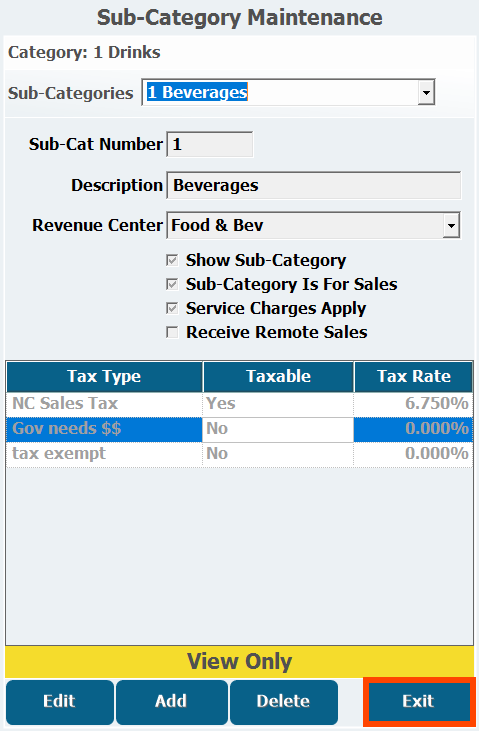
- Click OK to save the Category.
Select How to Tax the Item
You can configure inventory items that have a retail price to charge taxes on top of that price or calculate the tax rate as included in the price. You can also choose to not tax an item.
- From Manager Console, click Inventory.
- Double-click Item Maintenance.

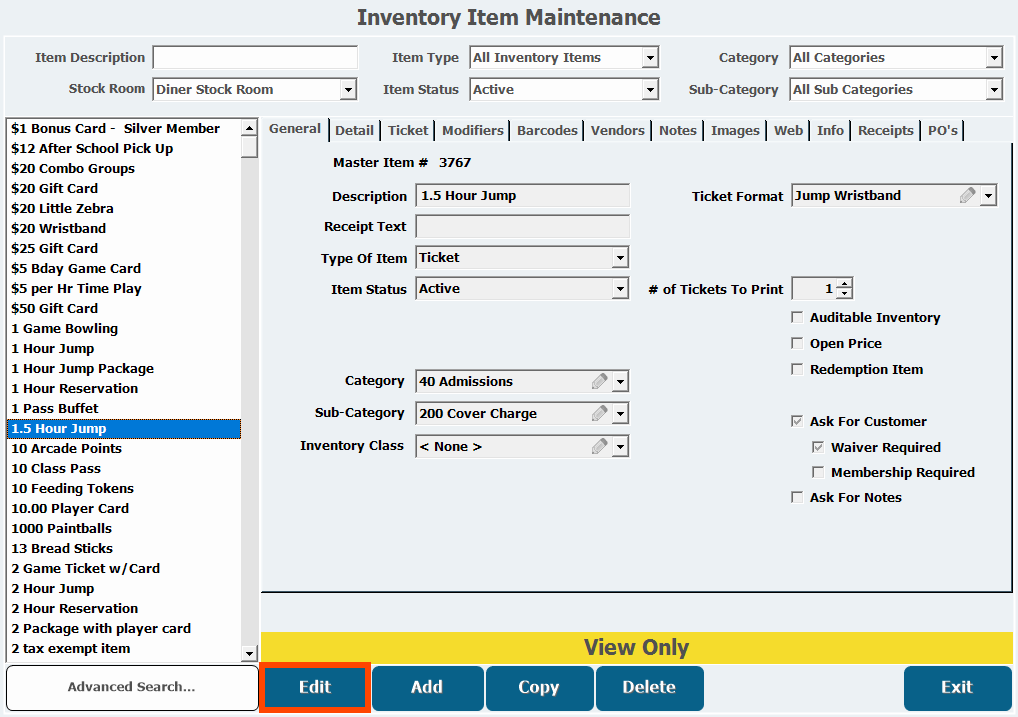
- Select the item you want to edit or click Add to create a new one.
- Learn how to Create a Retail Inventory Item.
- Click Edit if you are altering an existing item.
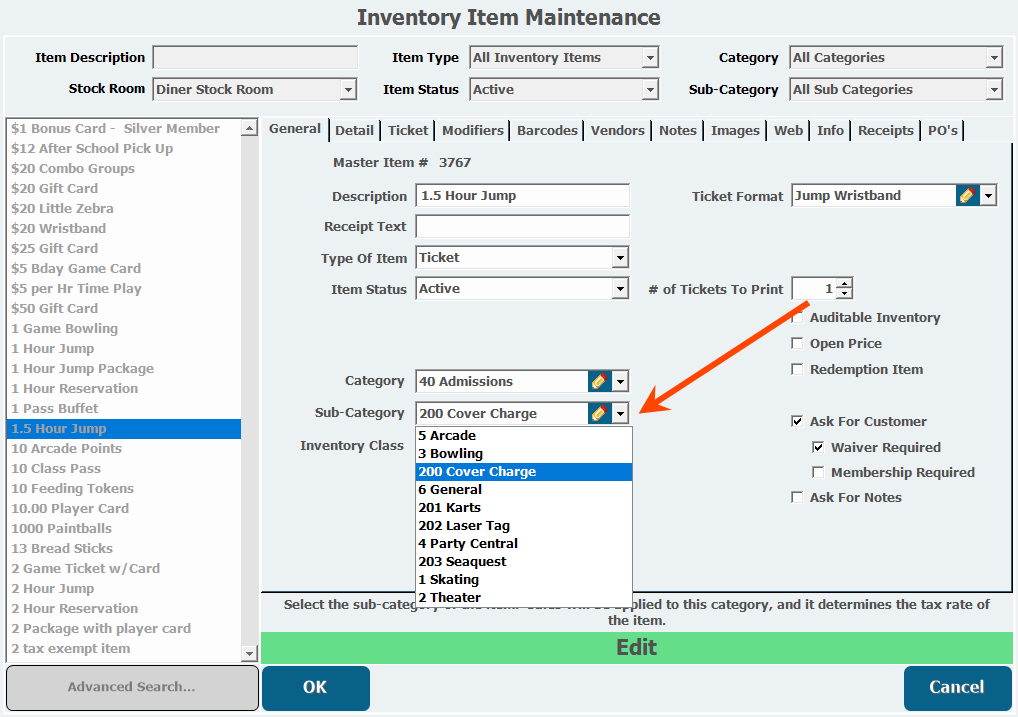
- From the General tab, select the Sub-Category with the correct tax rate.
You must have the correct Category selected that contains the Sub-Category you want to select.
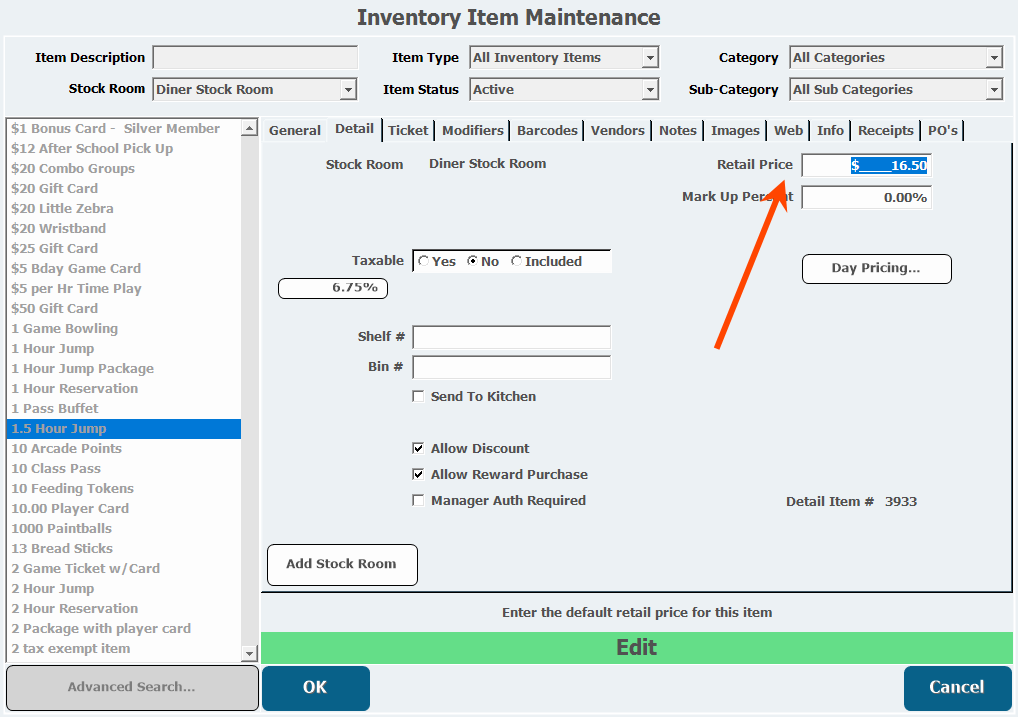
- Open the Detail tab.
- Enter the Retail Price you want to sell this item for.
- Select Yes in the Taxable field if the tax should be added to the retail price, No if this item shouldn't be taxed, or Included for it to be included in the Retail Price.
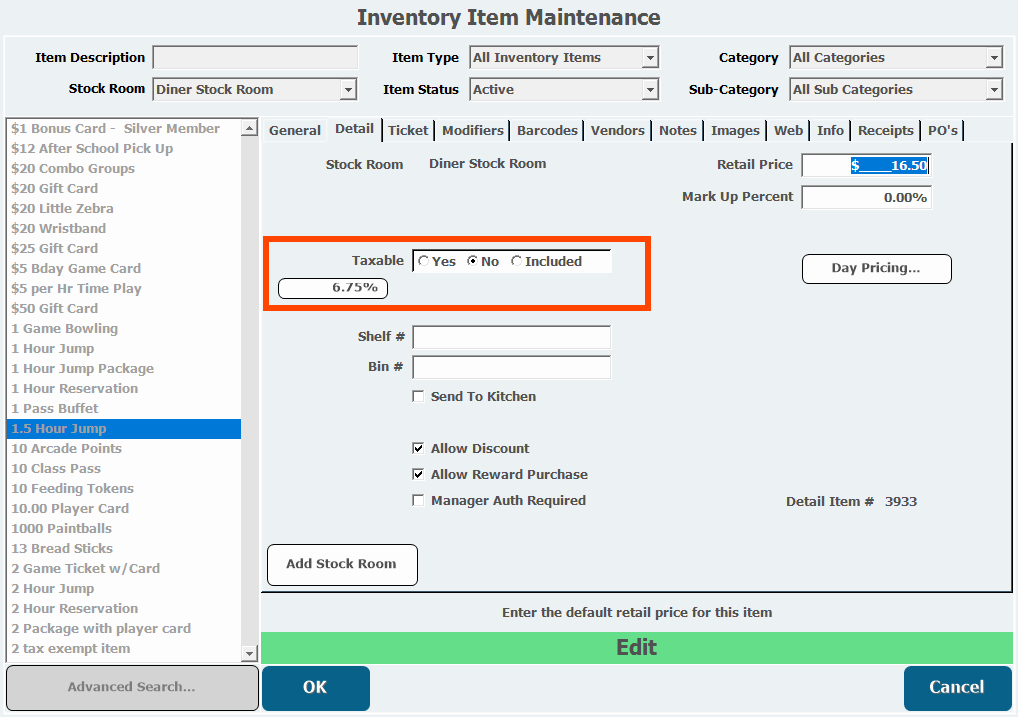 Clicking the percentage button shown in the image above will open a tax calculator that will let you preview tax scenarios based on this setting. If you change the retail price in the calculator, it will not change it on the actual item, so make sure you enter a new price in the Retail Price field when you are done if you want to change it.
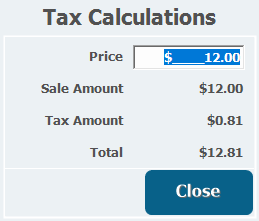
- Click OK to save.
Comments
1 comment
With pennies going away. Can we get a way to round to the nearest .05?
Please sign in to leave a comment.
Related articles